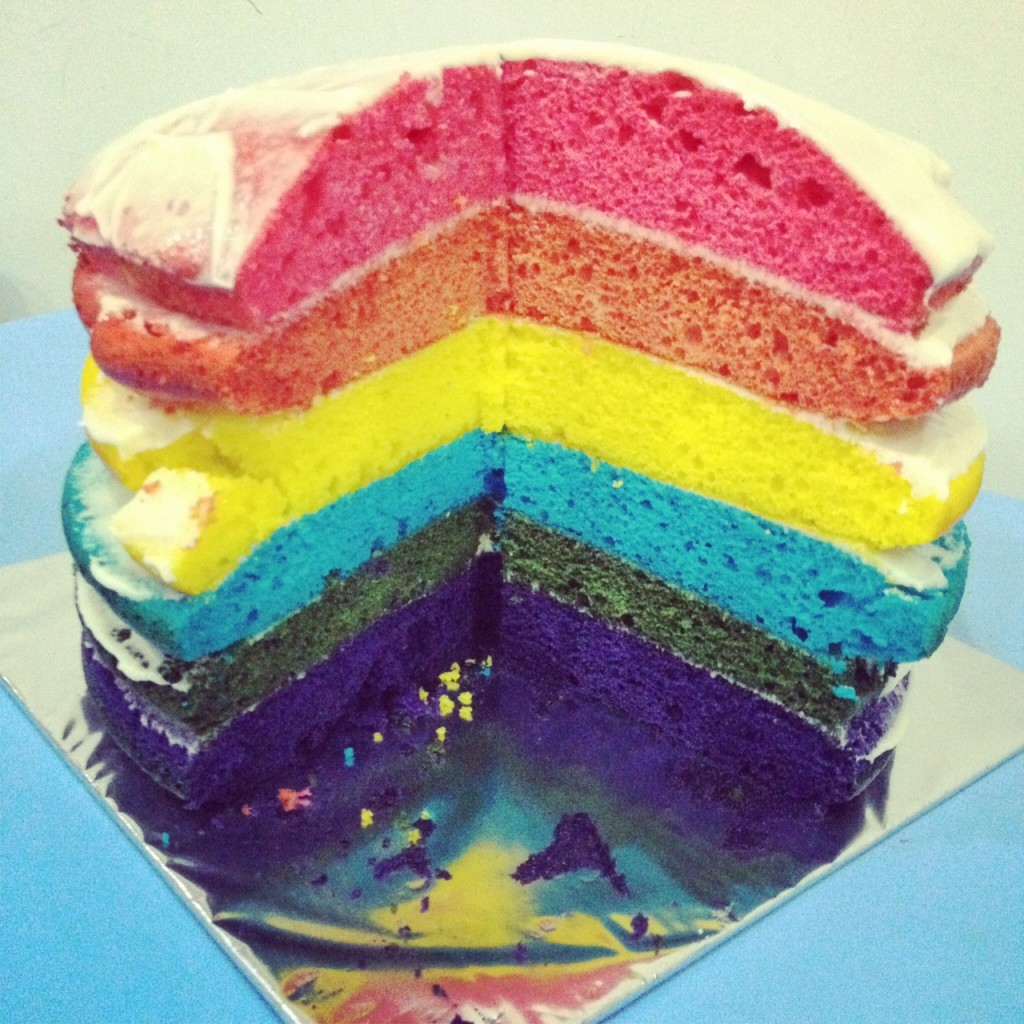
I’ve been reading a lot about parties and cakes with rainbows and it’s making me want to try baking a rainbow cake. I looked up the web and found out that it can be really easy making one. Just two packets of Betty Crocker’s and six types of gel colour paste, and voila!
I would have loved to make it from the scratch but unfortunately I only had the luxury of two hours. Even with premixes, it took me slightly more than two hours to bake, mix, wash and repeat the process six times! I can’t imagine if I had to make the batter from scratch; it might probably take the whole day!
Rainbow Cake (Recipe makes 1 with 6 layers)
Ingredients:
- 2 packets of Betty Crocker’s white cake mix (I couldn’t find white so I bought yellow and lemon and it worked just fine)
- 1 pack of premix requires: 3 eggs, 1/5 cup of veg oil & 1 cup of water
- Gel colour paste in your favourite rainbow colours
You will also need: round 9″ baking tins (the more the better!), baking paper and small bowls
Instructions:
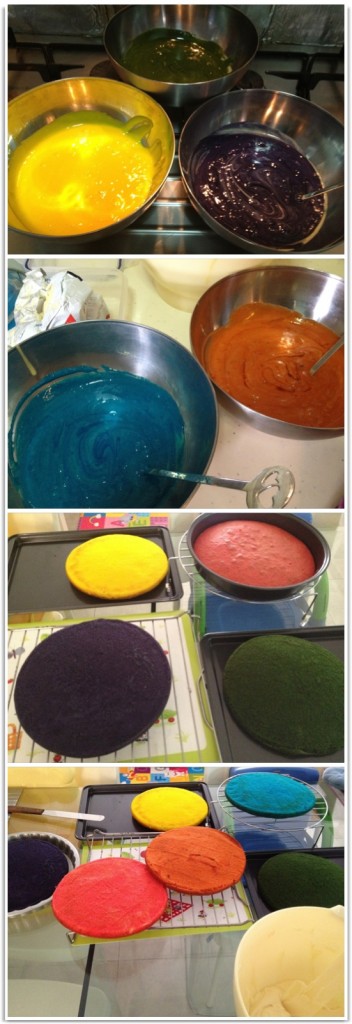
1) Follow the instructions on the premix. Divide batter evenly. One box of premix can be divided into 3.
2) Add enough of each colour of food colouring to each bowl, whisking, until desired shade is reached. Transfer each colour to an individual cake pan. (The whole time when I was baking I was reciting “Richard of York Gains Battle in Vain”! I skipped “Indigo” though!)
3) Transfer to oven and bake until a skewer inserted into the center of each cake comes out clean, about 15 minutes (working in batches if necessary).
4) Remove cakes from oven and transfer to a wire rack; let cool for 10 minutes. Invert cakes onto a wire rack; re-invert and let cool completely.
5) Start ordering the layers reciting ROYGBIV backwards; the first layer on the cake tray should be purple. Slab on some cream cheese frosting and repeat process with other layers.
6) Place last red layer on top, bottom-side up. Using a spatula, cover the top and sides with a thin layer of frosting (also use any of the excess frosting visible between the layers). Refrigerate until set, about 30 minutes.
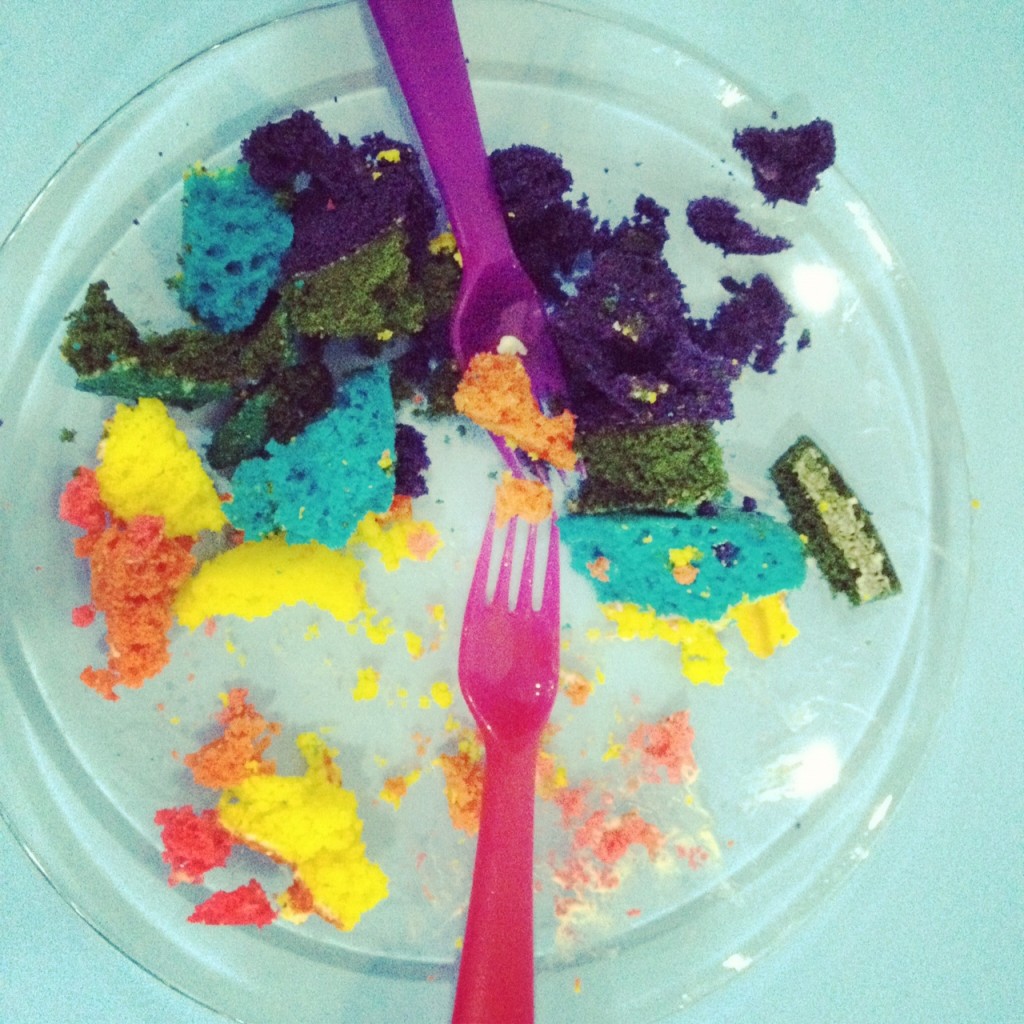
7) Gather kids and prep the camera. Slice the cake and hear them say “waaa!”. Enjoy! (La da da dee da da do…)


5 Comments
Looks amazing!!
So pretty!!!! =D
Ooh yummeh!!!
Looks fab! 😀
“Waaaaaaaaaaaah!!”
I Loike!